Git学习笔记之搭建私服
书接上回,本文主要介绍如何搭建属于你自己的Git私服。
我们之前演示了如何使用第三方代码托管平台Github来作为我们远端仓库,不过虽然之前Github允许建立私有仓库,但是免费的之余还是有一些限制诸如协作者人数不能过多,况且有的时候我们视代码如命脉,不想开源又想使用Git怎么办?答案就是搭建私服!搭建私服有几种方式,下面介绍一种比较流行的,但是比较复杂。
前提提示:我的Linux系统是centos7。
安装GitLab
安装前提依赖:
sudo yum install -y curl policycoreutils-python openssh-server perl
在系统防火墙中打开 HTTP、HTTPS 和 SSH 访问 (可选,不设置则只能从本地网络访问 )
sudo systemctl enable sshd
sudo systemctl start sshd
sudo firewall-cmd --permanent --add-service=http
sudo systemctl reload firewalld
安装 Postfix 以发送电子邮件通知 (可选)
sudo yum install postfix
sudo systemctl enable postfix
sudo systemctl start postfix
下载GitLab安装包
到网站https://packages.gitlab.com/gitlab/gitlab-ce/下载合适的包
gitlab-ce是社区版,免费的 gitlab-ee是企业版,收费的
找到合适的包后页面往下滑找到wget的地址复制下来到服务器中下载:
wget --content-disposition https://packages.gitlab.com/gitlab/gitlab-ce/packages/el/7/gitlab-ce-14.7.2-ce.0.el7.x86_64.rpm/download.rpm
然后开始安装:
sudo rpm -Uvh gitlab-ce-14.7.2-ce.0.el7.x86_64.rpm
安装成功后的提示:
Thank you for installing GitLab! GitLab was unable to detect a valid hostname for your instance. Please configure a URL for your GitLab instance by setting `external_url` configuration in /etc/gitlab/gitlab.rb file. Then, you can start your GitLab instance by running the following command: sudo gitlab-ctl reconfigure
按照提示,打开/etc/gitlab/gitlab.rb文件,搜索external_url选项,设置为ip地址(例如我的为http://124.222.8.87:81/)或者域名地址
然后重新配置:
gitlab-ctl reconfigure
然后开启gitlab
gitlab-ctl start
然后访问之前设置的ip地址
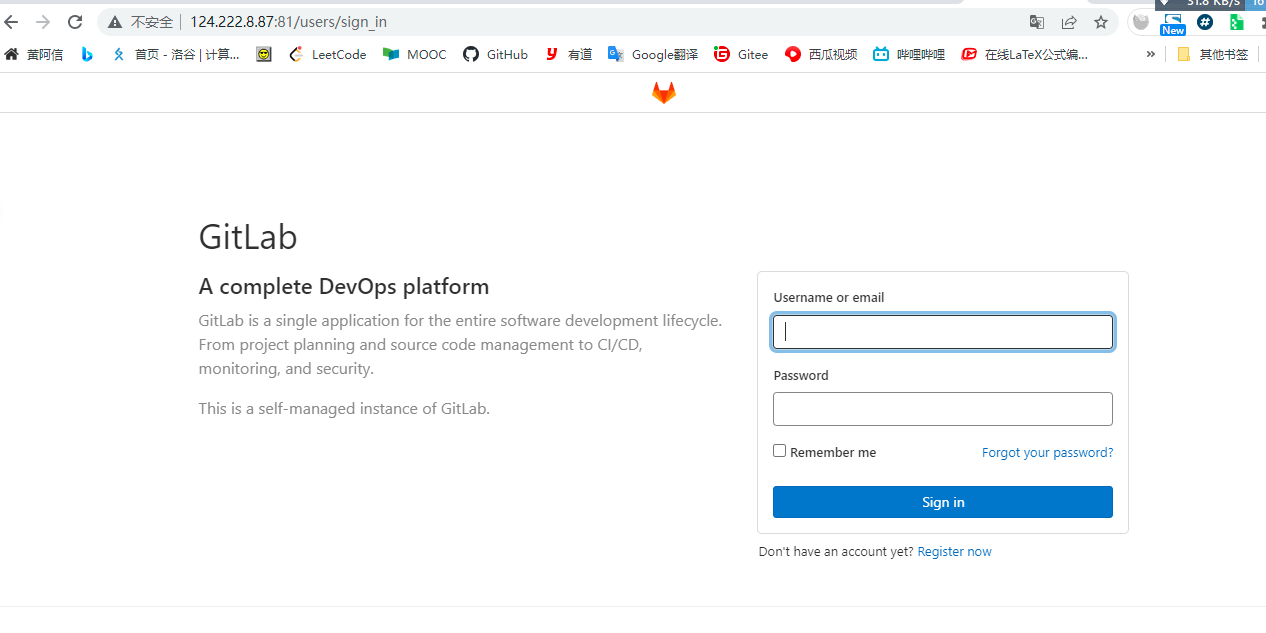
用户名为root。初始密码是在/etc/gitlab/initial_root_password,不过该密码在执行reconfigreure后的24小时就会被删除,所以记性不好的话建议立即改密码。
如果无法访问,则可能是没有开放防火墙端口
依次执行以下命令即可:
firewall-cmd --zone=public --list-ports#查看开放端口firewall-cmd --zone=public --add-port=81/tcp --permanent#开放81端口firewall-cmd --reload#重新加载配置 #如果不需要,也可以直接关闭防火墙,前提是不怕被运维的追着打!systemctl stop firewalld.service
强烈建议服务器运行内存在2GB以上!!
我的学生机真的只有2BG内存,还得开个4GB的虚拟内存才勉勉强强运行起来。
注册并使用GitLab
我发现2GB实在是不能用,只好斥巨资几块钱在华为云上买了弹性计算型主机~~
登录后台以后,可以自行选择更改语言为简体中文,也可以使用默认的。
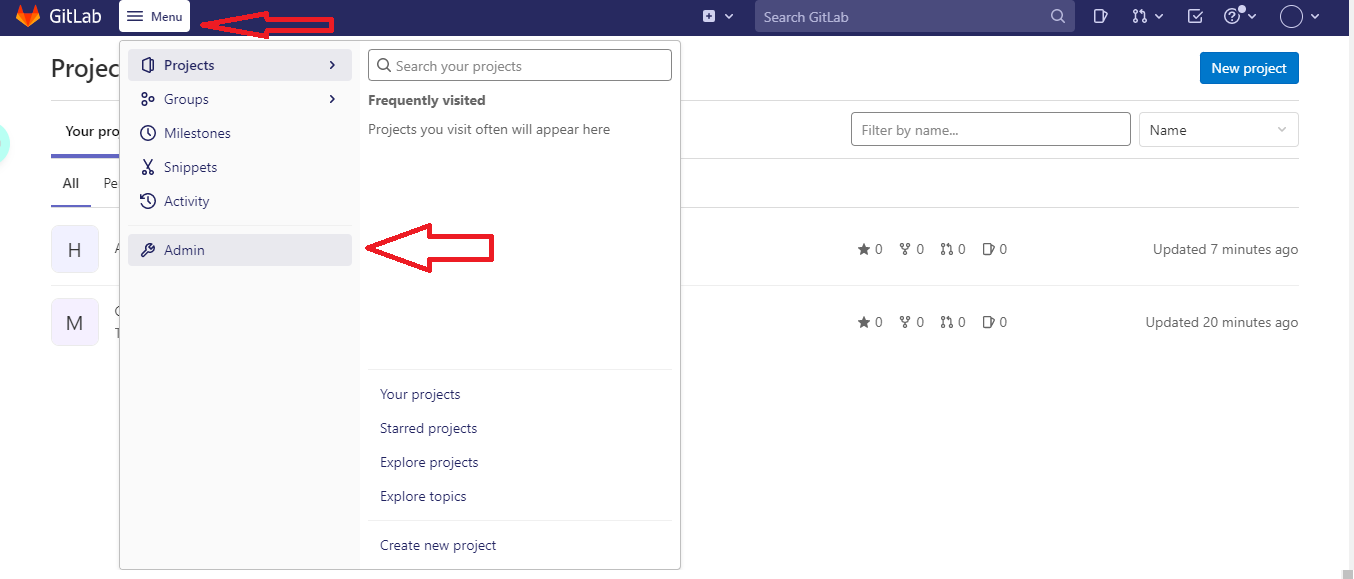
接下来就像使用GitHub一样啦!
先注册普通用户,因为你总不可能所有人都使用root账户吧!

注册好以后,管理员后台审核即可。
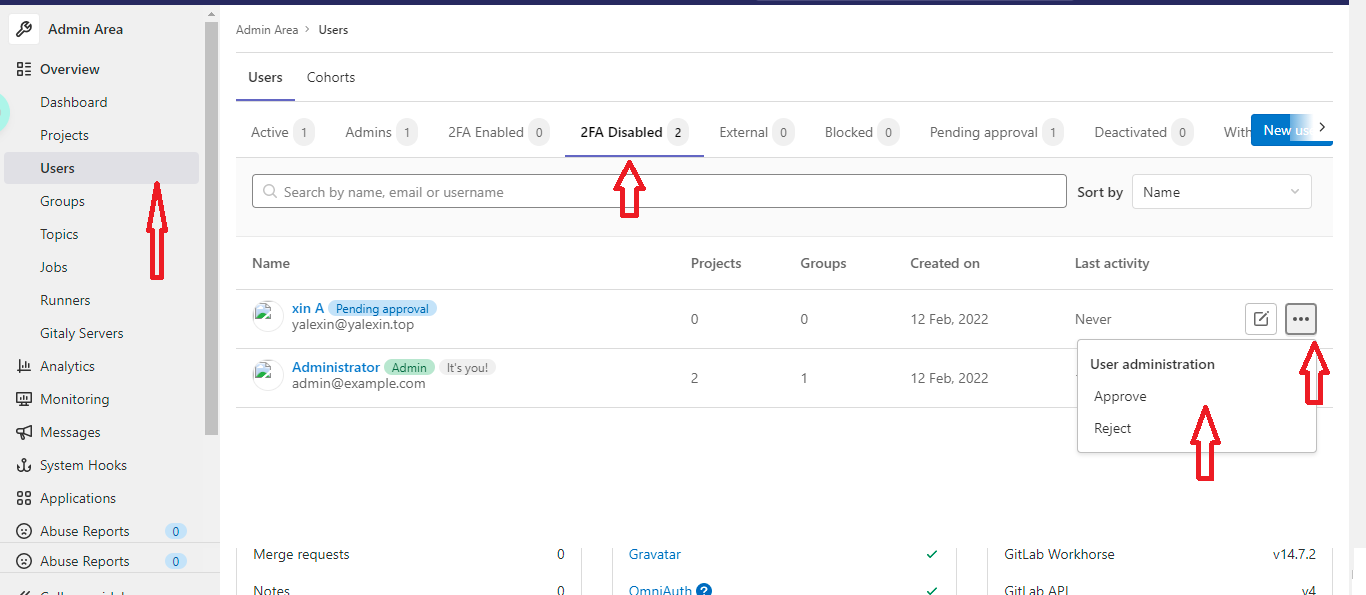
通过以后,该普通用户就可以登录了。
当然了,为了能够正常使用,还需要添加SSH公钥。


本文由「黄阿信」创作,创作不易,请多支持。
如果您觉得本文写得不错,那就点一下「赞赏」请我喝杯咖啡~
商业转载请联系作者获得授权,非商业转载请附上原文出处及本链接。
关注公众号,获取最新动态!